
Spray-Painted Cabinet Knobs: A DIY Guide
Simple Updates for a Big Impact
Christina Novello
10/12/20244 min read
Transforming Your Kitchen with Spray-Painted Cabinet Knobs: A DIY Guide
Updating your kitchen can be a daunting and expensive task, but sometimes all it takes is a simple change to make a big impact. One of the easiest and most cost-effective ways to refresh your kitchen is by updating the cabinet knobs. Instead of buying new ones, why not give your existing knobs a fresh look with spray paint? This DIY project is not only budget-friendly but also allows you to add a personal touch to your space. Plus, it’s an excellent way to justify all those hours you’ve spent watching home improvement shows. Here's how you can transform your cabinet knobs with just a few sprays of paint. A great idea for Bathrooms and Laundry Rooms as well!
Materials Needed
Before you get started, gather all the materials you'll need:
Old cabinet knobs (hopefully still attached to your cabinets, and not mysteriously missing like all your left socks)
Screwdriver
Sandpaper (medium to fine grit)
Spray paint (in the color of your choice)
Primer (optional, I didn't)
Drop cloth or newspaper (preferably not today’s important news)
Painter’s tape
Disposable gloves (unless you want your hands to look like a modern art project)
Clear sealant (for extra durability, because life is rough)
Step 1: Remove the Knobs
Begin by removing the cabinet knobs from your doors and drawers. Use a screwdriver to take off each knob, making sure to keep the screws in a safe place. (Or risk losing them forever to the Black Hole of Random Household Objects.) If you’re updating multiple knobs, it might help to label which knobs came from which cabinet to make reinstallation easier—or just enjoy the chaos of guessing later.
Step 2: Clean and Sand the Knobs
Once the knobs are removed, clean them thoroughly to remove any dirt, grease, or residue. You can use a mild soap and water solution or a degreaser. After cleaning, dry them completely. Think of it as giving your knobs a spa day—they deserve it.
Next, lightly sand each knob with medium-grit sandpaper. This step is crucial as it helps the paint adhere better to the surface. Sanding will also help smooth out any imperfections on the knobs. Wipe away any dust with a damp cloth and let the knobs dry. (Remember, dusty knobs lead to crusty paint jobs—or everyone will know you are not a DIYer.)
Step 3: Set Up Your Painting Area
Choose a well-ventilated area for spray painting, preferably outdoors or in a garage with the door open. Lay down a drop cloth or newspaper to protect the surface from overspray. Arrange the knobs on the cloth, spacing them out so that they’re not touching each other—because nobody likes clingy knobs.
If your knobs have screws that you want painted, you can insert them into a piece of cardboard or Styrofoam, then you can spray those too. Alternatively, use painter’s tape to cover any areas you don’t want to paint. (Or embrace the accidental two-tone look. We’re not judging.)
Step 4: Prime the Knobs (Optional)
If your knobs are made of metal or have a glossy finish, applying a primer before painting can help the paint adhere better and last longer. Choose a primer that’s appropriate for the material of your knobs. Spray the primer in thin, even coats, holding the can about 8-12 inches away from the knobs. Let the primer dry completely according to the manufacturer’s instructions. This step may feel like a chore but remember—a good primer is like a good friend: it sticks with you through thick and thin.
Step 5: Spray Paint the Knobs
Now for the fun part! Shake your spray paint can well (think of it as a mini workout) and then apply the paint in thin, even coats. Start with a light coat to avoid drips and runs. Hold the can about 8-12 inches away from the knobs and use sweeping motions to cover the entire surface.
Allow the paint to dry for about 10-15 minutes between coats. Depending on the color and finish you’re going for, you might need 2-3 coats to achieve full coverage. Be patient and let the paint dry completely between coats—rushing this step can lead to the dreaded “why did I do this” moment. Trust me, slow and steady wins the renovation race.
Step 6: Apply a Clear Sealant (Optional)
For added durability, especially if your knobs will be exposed to a lot of handling (hello, snack cabinet), apply a clear sealant over the painted knobs. This step will protect the paint from chipping and wear over time. Just like with the paint, apply the sealant in thin, even coats, allowing each coat to dry completely before applying the next.
Step 7: Reattach the Knobs
Once your knobs are completely dry (give them at least 24 hours to cure—or risk dealing with sticky fingerprints forever), it’s time to reattach them to your cabinets. Use the screws you set aside earlier and reinstall each knob in its original place. Or mix it up—who said kitchen cabinets can’t be a game of “find the matching pair”?
Step 8: Enjoy Your Refreshed Kitchen
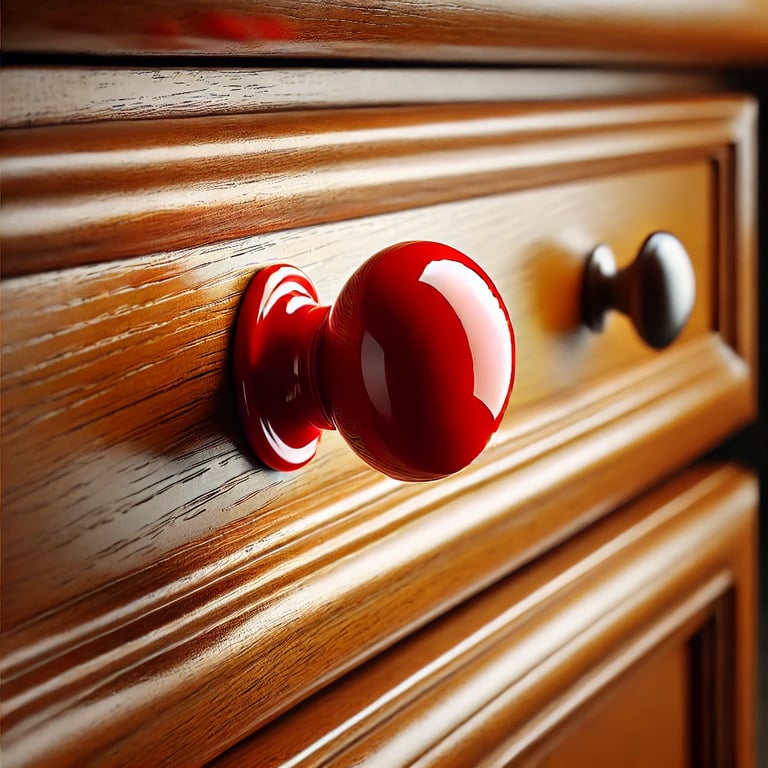
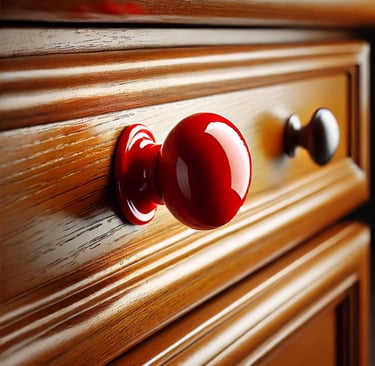
Stand back and admire your work! What was once a set of ordinary cabinet knobs is now a stylish and personalized feature of your kitchen. This simple DIY project can make a big difference in the overall look and feel of your space, all without breaking the bank. Plus, you can now casually mention, “Oh, these? I painted them myself” to anyone who compliments your kitchen—and let’s be honest, you’ll be fishing for those compliments.
Final Tips
Experiment with colors: Don’t be afraid to try bold or unexpected colors. A pop of color on your cabinet knobs can add personality to your kitchen—just imagine a guest’s surprise when they see neon pink knobs. Instant conversation starter!
Consider different finishes: Matte, glossy, metallic—each finish offers a different vibe. Choose one that complements your kitchen’s style (or your mood—because why not?).
Test first: If you’re unsure about the color or finish, test it on a spare knob or a small area first to see how it looks. Better safe than explaining to your partner why your kitchen suddenly looks like a disco.
Updating your cabinet knobs with spray paint is a quick, easy, and affordable way to give any room a mini makeover. With just a few simple steps, you can transform your space and add a touch of your own creativity. Happy painting—and may your kitchen be forever fabulous!